
How To Create A Client Portal In WordPress
A client portal is a secure online space where clients can log in and access information related to their accounts with your company.
This information can include project files, invoices, contact information, resources, and more. In addition, you can use client portals to improve communication between your company and its clients. They provide a central location for all pertinent information and allow clients to access this information 24/7 from any internet-connected device.
When it comes down to it, setting up a client portal is an excellent way to improve your customer experience. As such, setting one up is in the best interests of your company.
Ways To Create A Client Portal
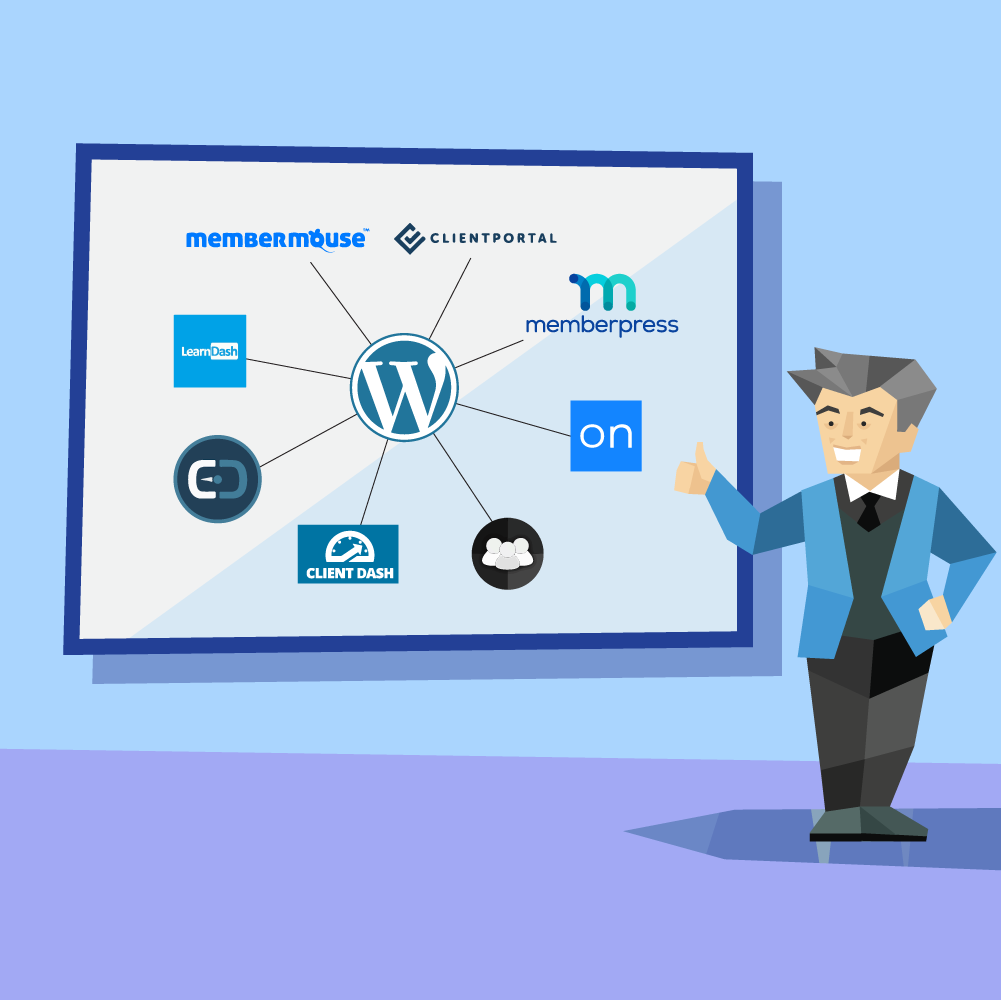
You can create a client portal in WordPress in two different ways: custom-build your client portal or use an existing plugin.
Custom Building Your Client Portal
Building your client portal from scratch will give you complete control over the design and all the features. However, getting up and running will also require more time and effort. You’ll also need to have some knowledge of coding. If you don’t have any coding skills, you may consider using a plugin instead.
Using An Existing Plugin
Using a plugin is an excellent alternative if you’d rather avoid custom building your client portal. This approach is much easier and will get your client portal up and running in no time. Plus, there are many great plugins available that offer a variety of features.
When choosing a plugin, there are a few things to remember. First, you’ll want to ensure that the plugin is compatible with your version of WordPress. Second, you should look at the reviews and ratings to understand how well the plugin works.
Lastly, you’ll want to ensure that the plugin offers the features you need. There are eight WordPress client portal plugins in particular that we recommend.
1. Set Up The WordPress Environment
First, set up a WordPress environment. You’ll want to begin by downloading a new copy of WordPress and installing it on your server. Once you download your new copy, check to see if any default plugins are installed. Next, remove these plugins and install the “Custom Post Type UI” plugin.
This plugin is essential for creating custom post types, which you will need for the client portal. Once installed, make sure that it’s active.
2. Edit The Custom Post Type User Interface
Once you’ve installed the Custom Post Type UI plugin, use it to add a new post type called “Customers.” You can then add and edit the fields based on what you want. The fields are simple pieces of information that you want to track for each customer. The following is an example of what you might want to include:
- Client Name
- Company Name
- Address
- Phone
3. Improve Post Type Slug
Be sure to use a custom rewrite slug for this post type. A slug is a part of a URL that identifies a particular page on a website. For example, the slug for the “Customers” post type might be “clients,” resulting in a URL like this: www.example.com/clients.
By using custom rewrite slugs, you will ensure that the URL structure of your client portal is clean and easy to understand. If you leave the post type slug as is, the links generated for new customers added to your portal will be messy and difficult to read. For example, it might look like this: www.example.com/?post_type=customers&p=123
4. Enable And Modify Custom Fields
To enable custom fields, click on “Supports > Custom Field” near the bottom of the page. Then, click “Add Post Type” to submit the changes and register the post type. You can now add custom fields, which you will need to assign to the post type you just created. You can add custom fields using the “Add Field” button.
5. Make The WordPress Template File
The next step is to create a single-tu_customer.php file in the root theme directory. This file is a template file created using the WordPress template hierarchy that tells WordPress how to display a customer dashboard.
6. Create A Layout For Your Content
After you’ve created the single-tu_customer.php file, you’ll want to open it. Once you open it, add the “get_header and get_footer” functions. These functions are WordPress tags that tell WordPress to include the header.php and footer.php files from your theme.
Headers and footers are standard on websites and usually have things like the website’s logo, navigation, and other important information.
Once you’ve done this, you’ll want to modify the layout of your content so that it works with the theme.
7. Make The Membership Plans
Now that you have the basic structure of your client portal in place, it’s time to start adding content. You can add all kinds of content, such as blog posts, images, and files. However, the first thing you need to do is create the membership plans that your customers will be able to sign up for.
Create a membership plan by going to your WordPress dashboard and clicking on the “Memberships”‘ tab. Next, click on the “Add New” button.
At the next page, input the details for your membership plan. Start by giving your membership plan a name. For example, “Basic Plan.” In the description field, you can enter a brief description of what this membership plan includes.
Go down to the “Pricing” section and enter the price for your membership plan. If you want to offer a discount for an annual subscription, you can enter that information in the “Annual Price” field.
- Restrict Access
In the “Content Access” section, you can select which content your members will have access to. For example, if you offer different membership tiers, some content may be exclusive to higher tiers. If you only have one membership plan, you can provide members access to all the content you publish through the client portal.
If you want to offer a free trial for your membership plan, you can enter the number of days in the “Free Trial Period” field. Then, when you finish, click the “Publish” button to save your changes.
8. Customize The Client Account Page
Now that you’ve created a membership plan, it’s time to start working on the front end of your client portal. You first need to customize the account page to include all the information your customers will need.
Remember that the ability to modify the page and the features on the client account page depends on the plugin you’ve chosen (unless you’re building from scratch). With that in mind, most plugins will typically allow you to customize the following:
- Add tabs to the accounts page: With some plugins, you can add tabs to the client account page. Adding tabs is a great way to organize all the information on the page and make it easier for customers to find what they’re searching for.
- Add content for an individual client: If you want to add content that’s specific to an individual client, you can do that by creating a custom field.
For example, if you have a client that always needs to be updated on the latest news, you can create a custom field where you can add news articles. Doing so is a great way to personalize the user experience.
- Add forms: Adding forms is a great way to collect information from your customers or allow them to submit ticket requests. By allowing your customers to submit ticket requests, you can keep track of all the support requests in one place.
There are various types of forms you can add to the client account page. It all depends on what type of information you want to collect from your customers. For example, you can add membership forms, feedback forms, testimonial forms, and more.
- Add learning resources: A client portal is a great place to provide your customers with learning resources. For example, you can add how-to guides, video tutorials, PDFs, and more. Doing so is a great way to help your customers get the most out of your products or services.
- Add products and services to upsell: If you offer products or services that complement your main offerings, you can upsell them on the client account page. Upselling refers to the practice of selling complementary products or services to existing customers.
For instance, if your company sells web design services, you can upsell your customers on web hosting. Not only is this a great way to increase sales, but it’s also an excellent way to improve the customer experience.
9. Style Your Interface The Way You Want
The next step is to style your interface to match your brand. Doing so includes choosing the right color scheme, typography, and overall design. Fortunately, most client portal plugins come with built-in customization options that allow you to change the aesthetic of your portal without having to touch a line of code.
Keep the following in mind when you style your interface:
- First, make sure your user interface is neat and clean. You want your customers to focus on the content, but not be distracted by a cluttered interface.
- Don’t forget to hide the custom post types from search engines so only members can see the content. To hide custom post types, go to “Settings > Reading” and check the “Discourage search engines from indexing this site” option.
- Lastly, add the account page to the menu so your customers can easily find it. To add the account page to the menu, go to “Appearance > Menus” and add the account page to the menu.
10. Do A Test Drive
Once you’ve finished setting up your client portal, it’s time to do a test drive. Doing so is essential because it allows you to see how everything works together and ensure there are no glitches. Start by creating a test account and see how easy it is to navigate the client portal.
The following are some things to consider:
- Are the tabs easy to navigate?
- Is the content easy to find?
- Is the overall design pleasing to the eye?
- Do the forms work?
- Are there any empty fields?
- Do you spot any errors?
Take notes of these points as you navigate the client portal, and be sure to address any issues before making your client portal live.
Creating Your Website’s Client Portal
A client portal is a fantastic way to improve the customer experience and increase customer loyalty. It’s also an excellent way to collect information from your customers or allow them to submit ticket requests.
If you’re looking for a way to create a client portal, we recommend using a WordPress Client Portal plugin. It’s a great tool that allows you to easily create a client portal without having to know how to code.
Want to know more about the best client portal plugin for your website?